
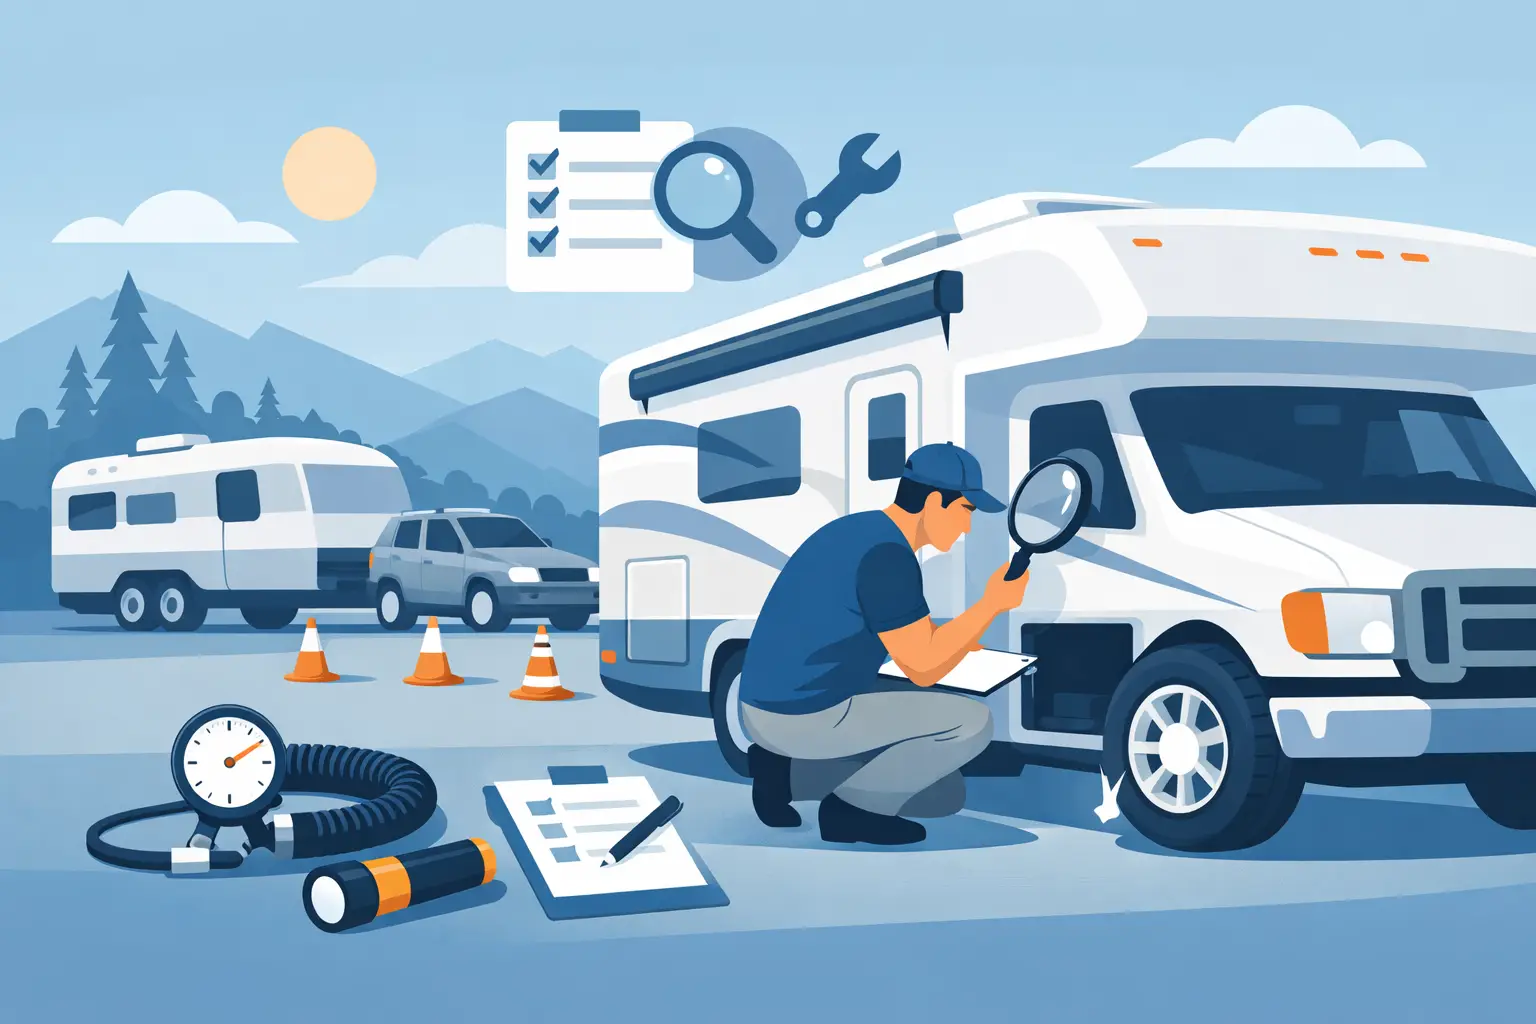
RV Pre-Trip Inspection Before You Pull Out
A good RV pre-trip inspection starts before the hitch is connected and the campground reservation is on the line. A small water drip, aging tire, loose battery cable, or weak air conditioner may not look urgent in the driveway. On the road, it can turn into a lost travel day, an expensive tow, or a weekend spent waiting on repairs instead of enjoying East Tennessee.
Whether you own a camper, travel trailer, or fifth wheel, taking 20 to 30 minutes to check the essentials can prevent many common breakdowns. This is not about finding every possible issue yourself. It is about catching warning signs early enough to get dependable help before you pull out.
Start Your RV Pre-Trip Inspection Outside
Walk slowly around the RV before loading up. Look at the roofline, sidewalls, windows, storage doors, awning, and the ground beneath the unit. You are looking for changes since your last trip: fresh stains, cracked sealant, sagging trim, open compartments, or puddles.
Pay special attention to the roof and exterior seals. Water can enter through small gaps around vents, skylights, antennas, windows, and marker lights. By the time a ceiling stain appears inside, moisture may already have traveled farther than expected. If sealant is cracked, lifting, or missing, schedule service before a long trip or a stretch of heavy rain.
Check the awning while it is still easy to address at home. Run it out far enough to inspect the fabric for tears, loose stitching, mildew, and worn attachment points. Make sure the arms lock properly and the fabric rolls in evenly. An awning that binds or will not retract securely is a problem you do not want to discover in a campground windstorm.
Tires, Wheels, and the Tow Connection
Tires deserve more than a quick glance. Check each tire, including the spare, for cracks in the sidewalls, uneven tread wear, punctures, and bulges. Use a tire pressure gauge when the tires are cold and inflate them to the pressure listed on the RV’s tire information label. Do not rely on appearance alone. Underinflated tires build heat, and heat is a common cause of tire failure.
Look at the age of your tires too. RV tires can age out before the tread looks worn because trailers often sit for long periods. If you see weather checking or cannot confirm the tires’ age and condition, have them inspected by a qualified professional.
Before towing, confirm that the hitch coupler is fully seated and locked, the safety chains are crossed and connected, and the breakaway cable is attached to the tow vehicle. The cable should be secure but not dragging or wrapped around the chains. Check the trailer jack is fully raised, the stabilizer jacks are up, and every storage door is latched.
Then test the running lights, brake lights, turn signals, and trailer brakes. Have someone stand behind the RV while you test them, or use a reflective surface if you are working alone. Dim, intermittent, or nonworking lights often point to a bad connection, corroded plug, weak ground, or wiring issue that needs attention before travel.
Check for Water Problems Before Filling the Tank
Water damage is one of the costliest RV problems because it can affect flooring, walls, cabinetry, and insulation. Before a trip, inspect the freshwater connection, city-water inlet, hose, pressure regulator, and exterior shower. Look inside cabinets below sinks and around the water heater for dampness, staining, or a musty smell.
If you are using the freshwater tank, make sure the drain valve is closed and the tank is secured. Turn on the water pump and let it build pressure. Once it stops running, it should stay off until you open a faucet. A pump that cycles by itself can signal a leak or a pressure issue somewhere in the plumbing system.
Test each faucet, the toilet, and the shower briefly. Check that the toilet holds water in the bowl and that the flush valve does not drip. Also confirm the gray and black tank valves are closed before heading down the road. A valve left open or a cap left loose can create a mess that no one wants to handle at the next stop.
Make Sure Power and Propane Are Ready
Your RV may use both 12V battery power and 110V shore power, so check each system separately. Start with the battery. Look for loose connections, corrosion around terminals, swelling, or a battery that will not hold a charge. Confirm that interior lights, vent fans, the water pump, and slide controls work properly on battery power.
If you are plugged in at home, verify that outlets, the converter, and major appliances operate as expected. Reset any tripped GFCI outlets before assuming an appliance has failed. If breakers trip repeatedly, lights flicker, outlets lose power, or you smell hot plastic, stop using that circuit and arrange a diagnosis. Electrical problems are not a good place for trial and error.
For propane-equipped RVs, make sure the cylinders are secure, valves are in good condition, and there is enough fuel for your trip. Turn on the propane and test the stove burners, furnace, water heater, and refrigerator according to their normal operating procedures. If you smell propane, hear hissing, or a gas appliance will not light correctly, shut off the propane at the tank and have the system checked.
Test the Comfort Systems Before You Need Them
A Tennessee afternoon can make an air conditioner work hard, while a cool Smokies morning can expose a furnace problem fast. Run the air conditioner long enough to confirm that it is producing cold air, draining normally, and not making unusual noises. Clean or replace the return-air filter if needed, but remember that a dirty filter is not the only cause of weak cooling.
Test the furnace before cold-weather travel as well. Make sure vents are clear, the thermostat responds, and the furnace completes a heating cycle without repeated failed starts. Check the carbon monoxide detector, smoke alarm, and LP gas detector at the same time. Replace weak batteries and do not leave for a trip with a safety alarm that is not working.
The refrigerator should also be checked well before departure. Give it enough time to cool and verify that it runs on the power source you plan to use. If it is not cooling, do not assume it will fix itself once you reach the campground.
Inside the RV: Secure What Can Move
Road vibration finds loose items quickly. Close and latch cabinets, drawers, refrigerator doors, windows, roof vents, and the shower door. Secure televisions, tables, chairs, and any items stored in the bathroom or kitchen. Heavy objects should ride low and close to the axle area when possible, not piled in the rear of a trailer.
A final interior check should include your emergency supplies. Carry a charged fire extinguisher, basic first-aid kit, flashlight, wheel chocks, drinking water, and the tools needed for your specific hitch setup. Keep your registration, insurance information, roadside assistance details, and campground reservation handy rather than buried under luggage.
When a Quick Check Becomes a Service Call
Some pre-trip concerns are simple. Others need a trained set of eyes before they become a roadside problem. Call for service if you find a roof leak, soft floor, tire damage, unreliable brakes or lights, recurring electrical trips, plumbing leaks, propane odors, air conditioner trouble, or a furnace that will not run safely.
For RV owners around Maryville, Knoxville, Townsend, Tellico Village, and nearby communities, Time In Season Mobile RV Repair can come to your home, storage location, campground, or roadside location. Mobile service is especially helpful when your RV is not safe to tow or you would rather solve the problem before departure day.
Give yourself enough time before a major trip to act on what you find. A calm inspection in the driveway is far easier than a repair decision beside the highway, and it helps keep your RV ready for the places you planned to go.