
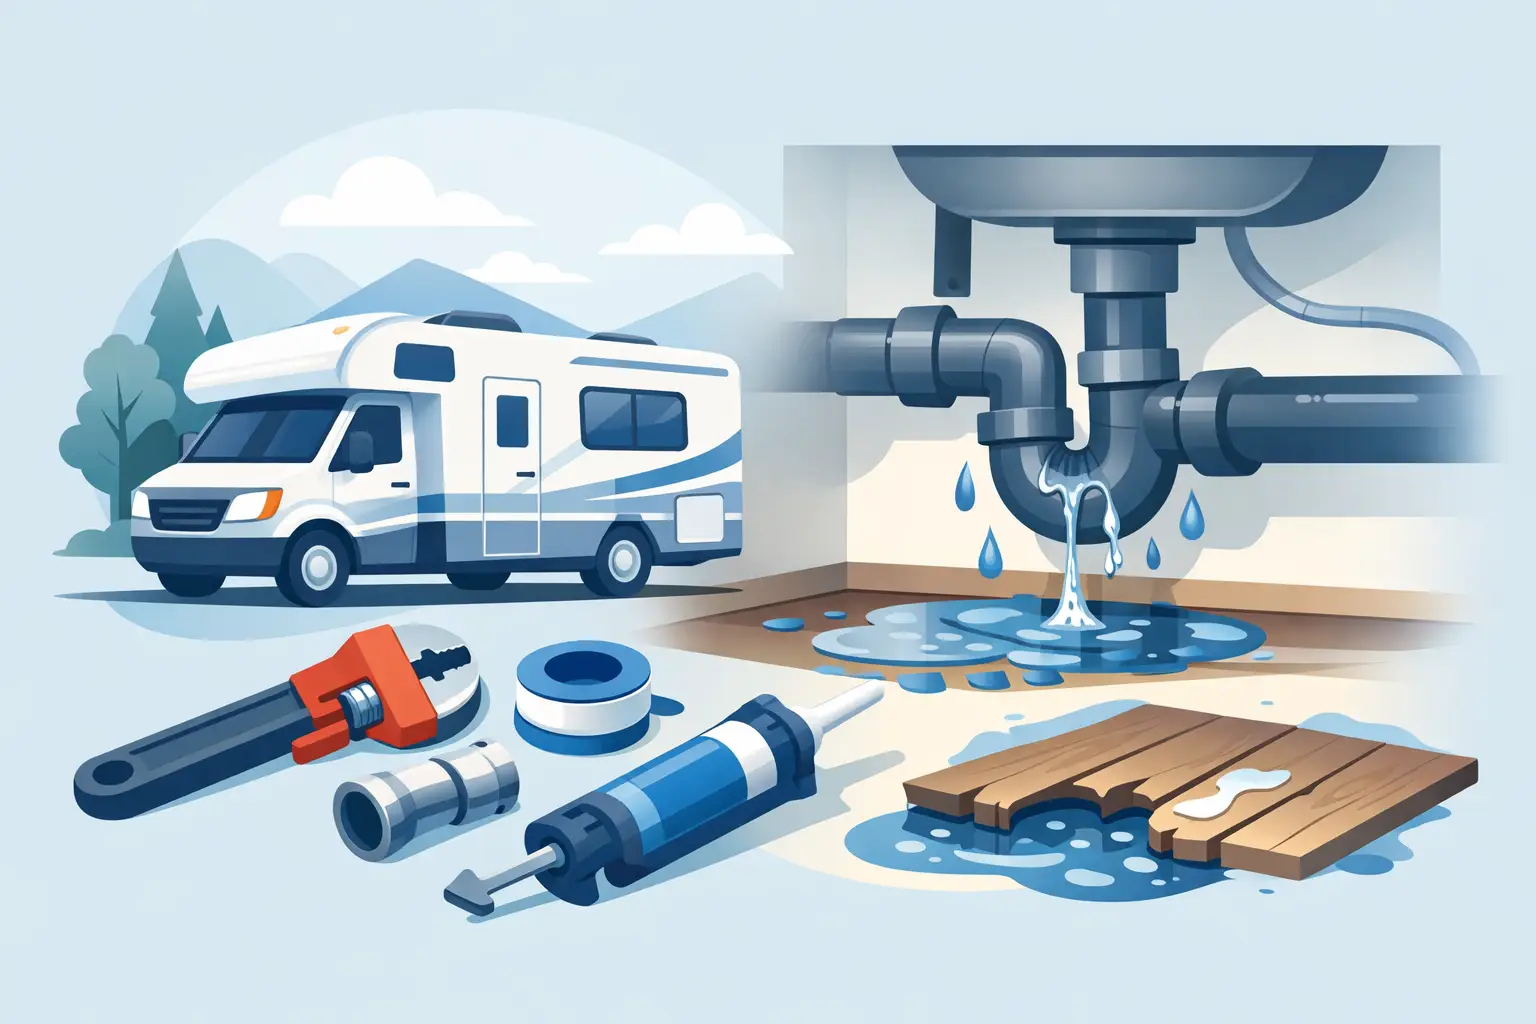
RV Plumbing Leak Repair That Stops Water Damage
A wet spot under the kitchen cabinet, a pump that cycles when no faucet is running, or water appearing near a slide-out can turn a good camping weekend into a stressful one fast. RV plumbing leak repair starts with limiting the water damage, then finding the real source before a small drip reaches flooring, insulation, or wall framing.
Unlike a house, an RV has plumbing lines tucked behind panels, under cabinets, around holding tanks, and inside tight exterior compartments. Road vibration, freezing temperatures, aging sealants, and loose fittings all take a toll. The good news is that many leaks can be stopped quickly when caught early. The key is knowing what to do first and when the repair needs an experienced set of hands.
Start by Stopping the Water
If water is actively flowing inside your camper, travel trailer, or fifth wheel, turn off the water source before you start searching for the leak. If you are connected to city water, disconnect the hose or shut off the campground spigot. If the leak is coming from the onboard fresh-water system, turn off the 12V water pump at its switch or fuse panel.
Open cabinet doors, remove loose items, and use towels to soak up standing water. Do not close everything back up simply because the leak has stopped. Moisture trapped beneath vinyl flooring, inside a cabinet base, or behind a wall can lead to swelling, mold, odors, and expensive structural repairs later.
If the water is near electrical outlets, converter equipment, wiring, or appliances, shut off shore power and avoid touching wet electrical components. Water and RV electrical systems are not a troubleshooting combination to take lightly.
Find Out Which Plumbing System Is Leaking
The location of the water is helpful, but it does not always identify the source. Water can travel along a hose, frame member, or floor before it appears somewhere else. Narrowing down which system is involved saves time and prevents replacing the wrong part.
City-water and fresh-water leaks
A leak that begins only when you connect a hose to city water usually points to the pressurized supply side. Check the city-water inlet, exterior hose connection, water-pressure regulator, filter housing, toilet valve, faucets, and fittings beneath sinks. A cracked fitting may only spray under full city-water pressure, so dry everything first and watch closely after turning the water back on.
If the RV is not connected to city water but the water pump runs briefly every few minutes, pressure is likely bleeding off somewhere. Look for drips under sinks, at the water heater, near the pump, and around the toilet. A cycling pump can also indicate a failing check valve or pump issue, so it is worth diagnosing rather than assuming every cycle is a visible plumbing leak.
Drain and gray-water leaks
Drain leaks often show up when a sink, shower, or tub is used. The piping is not constantly pressurized, so it may look perfectly dry until water runs down the drain. Common trouble spots include sink P-traps, shower drain connections, loose slip nuts, cracked drain pipes, and gray-tank valve areas.
Run water one fixture at a time while someone watches underneath and inside nearby cabinets. For a shower leak, inspect the access panel and the area below the shower pan. A leaking shower drain can be mistaken for a failed shower pan, and the repair path is very different.
Toilet and black-tank leaks
Water at the base of the toilet needs prompt attention. It may come from the supply connection, the toilet’s flush valve, a cracked bowl, or the floor seal. If the leak appears only after flushing, stop using that toilet until the cause is clear.
Black-tank and sewer leaks are more than an inconvenience. A damaged termination valve, loose cap, cracked fitting, or worn seal can create an unsanitary situation and should be repaired before travel. Never rely on a temporary patch for a sewer connection that is under stress from a full tank or road movement.
The Common Causes Behind RV Plumbing Leaks
Many owners expect a major crack when they find water, but the culprit is often a small failure at a connection. Plastic fittings can become brittle with age. Flexible supply lines can chafe against cabinet edges. Clamp-style connections can loosen from vibration. Faucet cartridges, toilet valves, water-heater drain plugs, and filter canisters all have seals that eventually wear out.
Cold weather is another frequent cause in East Tennessee. A line that was not fully winterized can split during a hard freeze, then remain hidden until spring de-winterizing. Even a small crack in PEX tubing or a fitting can leak only when the pump builds pressure.
Water heaters deserve close attention because they have several possible leak points. The pressure-relief valve may drip occasionally as part of normal pressure management, but steady leaking, rust-colored water, or water coming from the tank itself calls for inspection. A loose drain plug or an aging anode rod can also cause a slow leak that is easy to miss.
When a DIY Repair Makes Sense – and When It Does Not
Simple repairs can be reasonable for an owner who is comfortable working carefully. Tightening a visibly loose drain nut, replacing a washer in an accessible hose connection, or resealing a water filter housing may solve the problem. Use RV-rated or plumbing-compatible replacement parts, and do not overtighten plastic fittings. Too much force can crack the very part you are trying to save.
A temporary repair is sometimes useful when you are at a campground and need to get through the night, but it is not the same as a dependable repair. Tape, sealant, and improvised clamps may slow a drip, yet they can fail once the system is pressurized or the RV goes back down the road.
Call for professional help when the leak is hidden behind walls or under flooring, involves the water heater, toilet, holding tanks, pump, or plumbing near wiring. The same applies if you have repaired the obvious drip but the pump still cycles, the floor remains soft, or a musty smell develops. Those are signs that water may be reaching areas you cannot see.
Why Fast RV Plumbing Leak Repair Protects More Than Pipes
In an RV, water damage rarely stays limited to the original leak. Cabinet bottoms are often made from lightweight materials that can swell quickly. Flooring may trap moisture underneath, while insulation and wood framing can stay damp long after the surface appears dry. Over time, that moisture can weaken the structure and make a minor plumbing repair much more involved.
Fast action also protects your travel plans. A small fresh-water leak can drain your tank or run your pump until it fails. A gray-water leak can make a campsite unusable. A toilet or black-tank problem can stop a trip altogether. Addressing the issue while it is still contained is usually less disruptive than waiting until the next departure day.
For owners who cannot easily move a large trailer or fifth wheel, mobile service is especially practical. Time In Season Mobile RV Repair comes to your home, campground, storage location, or roadside location in the greater Knoxville area, helping you avoid towing an RV with an active plumbing problem to a shop.
Prevent Leaks Before the Next Trip
A few routine checks can catch plumbing trouble before it becomes visible inside the RV. Before a trip, connect to water or run the onboard pump and inspect under sinks, around the toilet, at the water heater, and near the pump. Listen for unexplained pump cycling after all faucets are off.
During seasonal care, inspect hoses for rubbing or stiffness, confirm drain fittings are secure, and look for water stains in exterior compartments. Proper winterization matters, especially after Tennessee cold snaps. Draining lines alone is not always enough to protect low spots, valves, and fixtures from freeze damage.
It also helps to use a water-pressure regulator when connecting to campground water. Excess pressure can stress fittings and valves that were designed for normal RV operating pressure. The right regulator is inexpensive insurance compared with repairing a flooded cabinet.
What to Do If You Find Water Again
Do not ignore a recurring drip because it seems small. Dry the area, shut off the water source as needed, and test one system at a time so the cause can be identified. Take a few clear photos before moving components or replacing parts. They can help document the problem and make diagnosis quicker if service is needed.
Your RV should feel like a comfortable place to leave town, not a source of worry every time you turn on the faucet. Catching leaks early, drying affected areas thoroughly, and getting the right repair in place keeps your home on wheels ready for the next mile.