
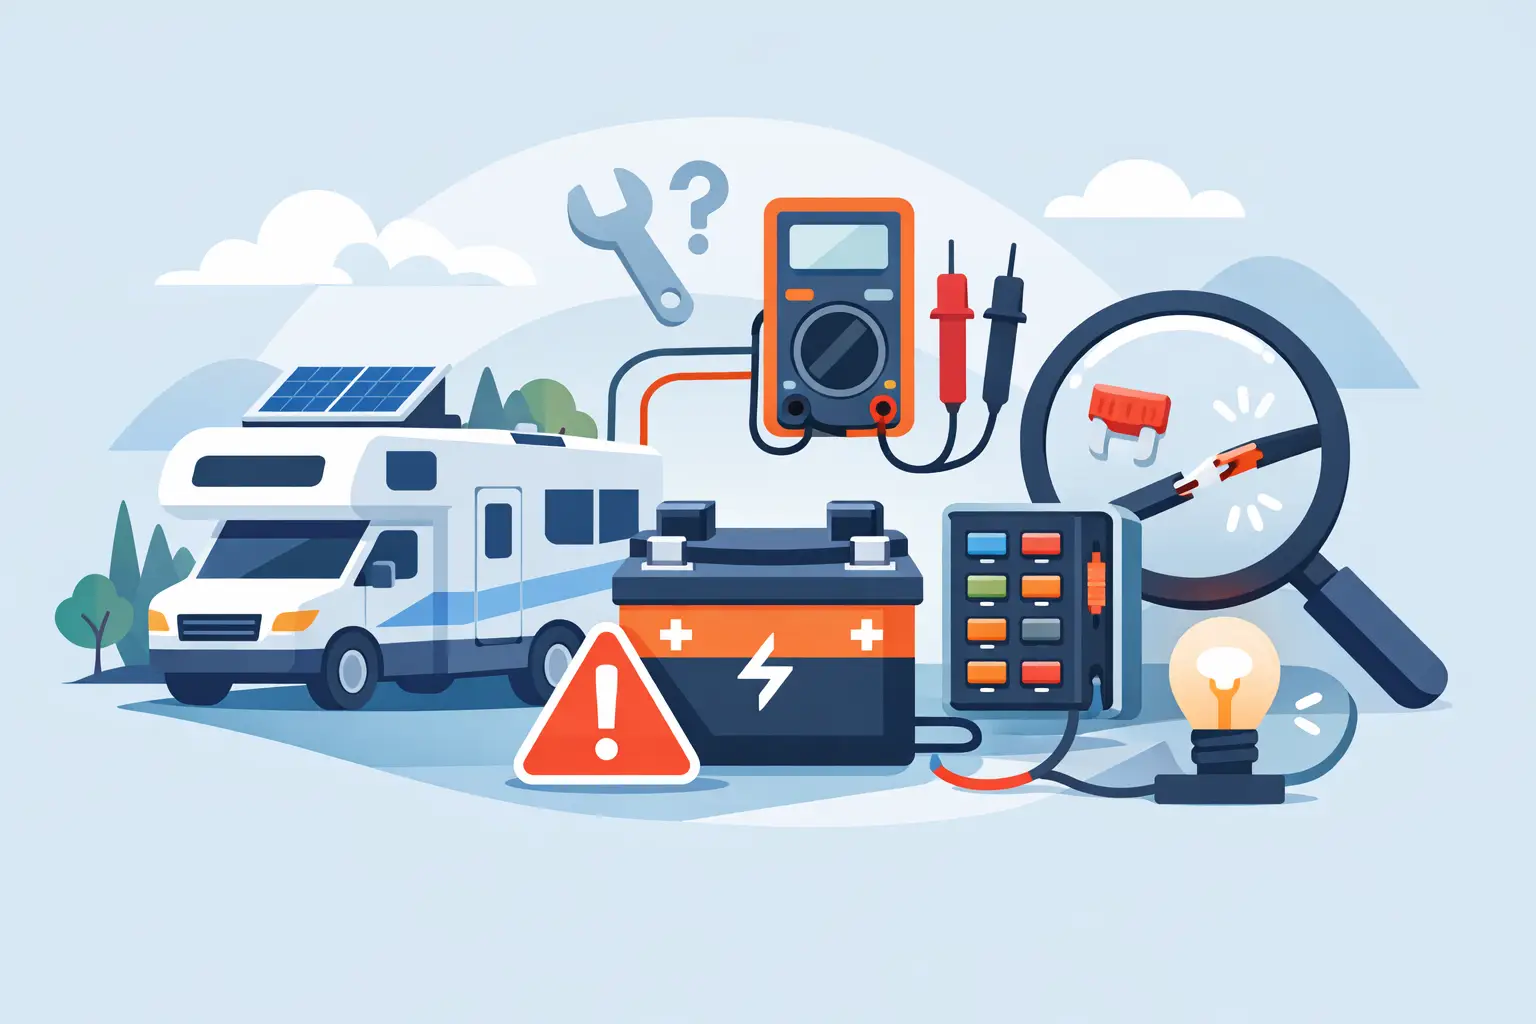
12 Volt RV Electrical Troubleshooting Steps
A dead interior light, a water pump that will not run, or a refrigerator control panel that suddenly goes dark can make an RV feel unusable fast. The good news is that many 12 volt rv electrical troubleshooting issues have a logical path to the answer. Start with the battery and work toward the appliance, one connection and one protective device at a time.
Your RV’s 12-volt system powers many of the everyday essentials that make camping comfortable: lights, vent fans, the furnace controls, water pump, slides, jacks, propane detector, and more. A small issue can interrupt a weekend at the campground or leave you stuck at home preparing for a trip. Knowing what to check safely can save time and help you recognize when it is time to call for mobile RV repair.
Start With Safety and Identify the Power Source
Before opening an electrical panel or handling battery cables, turn off the appliance you are testing. Remove rings, watches, and other metal jewelry. A 12-volt battery will not usually create the same shock risk as household power, but it can produce enormous current. A dropped tool across battery terminals can spark, melt metal, or start a fire.
Also, keep 12-volt DC and 120-volt AC systems separate in your mind. Shore power and generator power operate household-style outlets, the air conditioner, and other 120-volt equipment. The 12-volt system runs from your house batteries and is supported by the converter when plugged into shore power. A converter contains 120-volt components, so do not remove its cover or work inside it unless you are qualified to do so.
If you smell burning insulation, see melted wiring, notice a battery swelling or leaking, or find a repeatedly tripping breaker, stop troubleshooting. Disconnect power if it can be done safely and arrange professional service.
12 Volt RV Electrical Troubleshooting: Check the Battery First
The battery is the foundation of the entire DC system. Even a battery that looks clean and normal may not hold enough voltage under a load. Begin by checking whether the battery disconnect switch is on. This switch is easy to bump off during storage, winterization, or cleaning, and it can make the whole coach side of the RV appear dead.
Next, inspect the battery terminals. They should be tight, clean, and free of white, green, or bluish corrosion. Check both the positive and negative cables, including where the negative cable attaches to the RV frame. A loose ground connection can cause dim lights, intermittent appliances, or a system that works one moment and fails the next.
A basic multimeter gives you a clearer picture. With the RV unplugged and most 12-volt loads off, a fully charged lead-acid battery generally reads around 12.6 to 12.8 volts. Around 12.2 volts indicates a battery that is substantially discharged. Below 12 volts, many RV appliances may behave unpredictably or shut down altogether.
Voltage alone is not the whole story. An aging battery can show acceptable voltage with no load, then drop sharply when the water pump, furnace fan, or slide motor starts. If the lights dim heavily when a larger appliance runs, the battery may be weak, the cables may be undersized or corroded, or a connection may be loose.
When plugged into shore power, the converter should normally raise battery voltage into the charging range, often around 13.2 to 14.4 volts depending on its charging stage and battery type. If the battery voltage never rises when connected to power, the converter, its breaker, its fuse, or the shore-power supply may need attention.
Check Fuses, Breakers, and Resettable Protection
Once the battery and disconnect switch check out, move to the RV’s DC fuse panel. Most 12-volt circuits use automotive-style blade fuses. Look for a blown metal strip inside the fuse, but do not rely only on appearance. A multimeter or test light can confirm whether power reaches both sides of the fuse.
Replace a blown fuse only with one of the same amp rating. Installing a larger fuse may stop it from blowing, but it can allow the wiring to overheat before the fuse protects it. That is a fire risk, not a repair.
Some RVs also have resettable circuit breakers near the battery, on the frame, or in a front storage compartment. These are common for slide-outs, leveling systems, power tongue jacks, and other high-draw equipment. A small button or lever may reset the breaker, but a breaker that trips again has a reason. A binding slide, damaged wire, failing motor, or short circuit can all be behind it.
Do not overlook the fuse or breaker that feeds the converter. If all 12-volt items fail while shore power is connected and the battery is low, that supply circuit is worth checking. The converter may have additional reverse-polarity fuses on its front panel. Those can blow if battery cables were accidentally connected backward during replacement.
Narrow Down Whether One Circuit or the Whole RV Is Affected
The pattern of the failure tells you a great deal. If every 12-volt light and appliance is dead, focus on the battery, disconnect switch, main fuse, main breaker, or converter. If only the bedroom lights are out while the rest of the RV works, the problem is likely limited to that branch circuit, its fuse, switch, fixture, or wiring.
For a single dead light, try a known-good bulb first. LED fixtures can also fail internally, especially after vibration or moisture exposure. If a light flickers when you touch the switch or fixture, look for a loose wire connection rather than assuming the battery is the problem.
For a dead water pump, make sure the pump switch is on at every control location. Many RVs have a switch at the kitchen and another in the bathroom or control panel. Then check the pump fuse, listen for any sound at the pump, and inspect the wiring connector. A pump that hums but does not move water may have a plumbing or pump issue rather than an electrical one.
Slides, jacks, and leveling equipment deserve extra caution. These systems draw high current and have moving parts that can injure someone or damage the RV if operated unexpectedly. Low battery voltage is a frequent cause of slow or nonresponsive operation, but mechanical binding, corroded connections, and failed control modules are also common.
Look for Common Causes After Storage or Heavy Rain
East Tennessee weather can be hard on an RV sitting in a driveway, storage lot, or campground. Long storage periods allow batteries to discharge. Humidity invites corrosion at terminals and connectors. Water intrusion around roof penetrations, compartment doors, and exterior appliance openings can affect wiring long before you see a major leak inside.
If an electrical problem appeared after rain, inspect accessible areas for dampness, stains, or corrosion. Do not pull apart sealed walls or ceiling panels to chase a suspected hidden wire. Water and electricity require careful diagnosis, especially if the affected circuit includes a furnace, refrigerator, or exterior outlet area.
Rodent damage is another possibility, particularly after winter storage. Look for chewed wire insulation, nesting material, or droppings in accessible compartments and under the RV. Damaged wiring should be repaired properly, not covered with tape and forgotten. A temporary-looking repair can become a hot spot once the circuit is under load.
When a Mobile RV Technician Is the Better Next Step
Basic checks are useful, but electrical diagnosis can quickly move beyond a fuse and a battery terminal. It is time to bring in help when fuses keep blowing, batteries will not charge, wiring is hot or damaged, appliances work only intermittently, or a major system such as a slide, jack, furnace, or refrigerator control will not operate.
A mobile technician can test voltage drop, charging output, grounds, switches, relays, and individual circuits where your RV sits. That matters when the RV cannot be moved easily, when you are set up at a campground, or when a tow to a shop would add stress and expense. Time In Season Mobile RV Repair comes to RV owners throughout the greater Knoxville and Maryville area to diagnose problems where they happen and help get travel plans back on track.
Keep a small record of what happened before the failure: whether you were plugged in, what appliance was running, whether it rained, and which fuse or breaker tripped. Those details often point to the real problem faster than replacing parts one by one. A careful check now can keep a small 12-volt issue from becoming the reason your next trip never gets out of the driveway.