
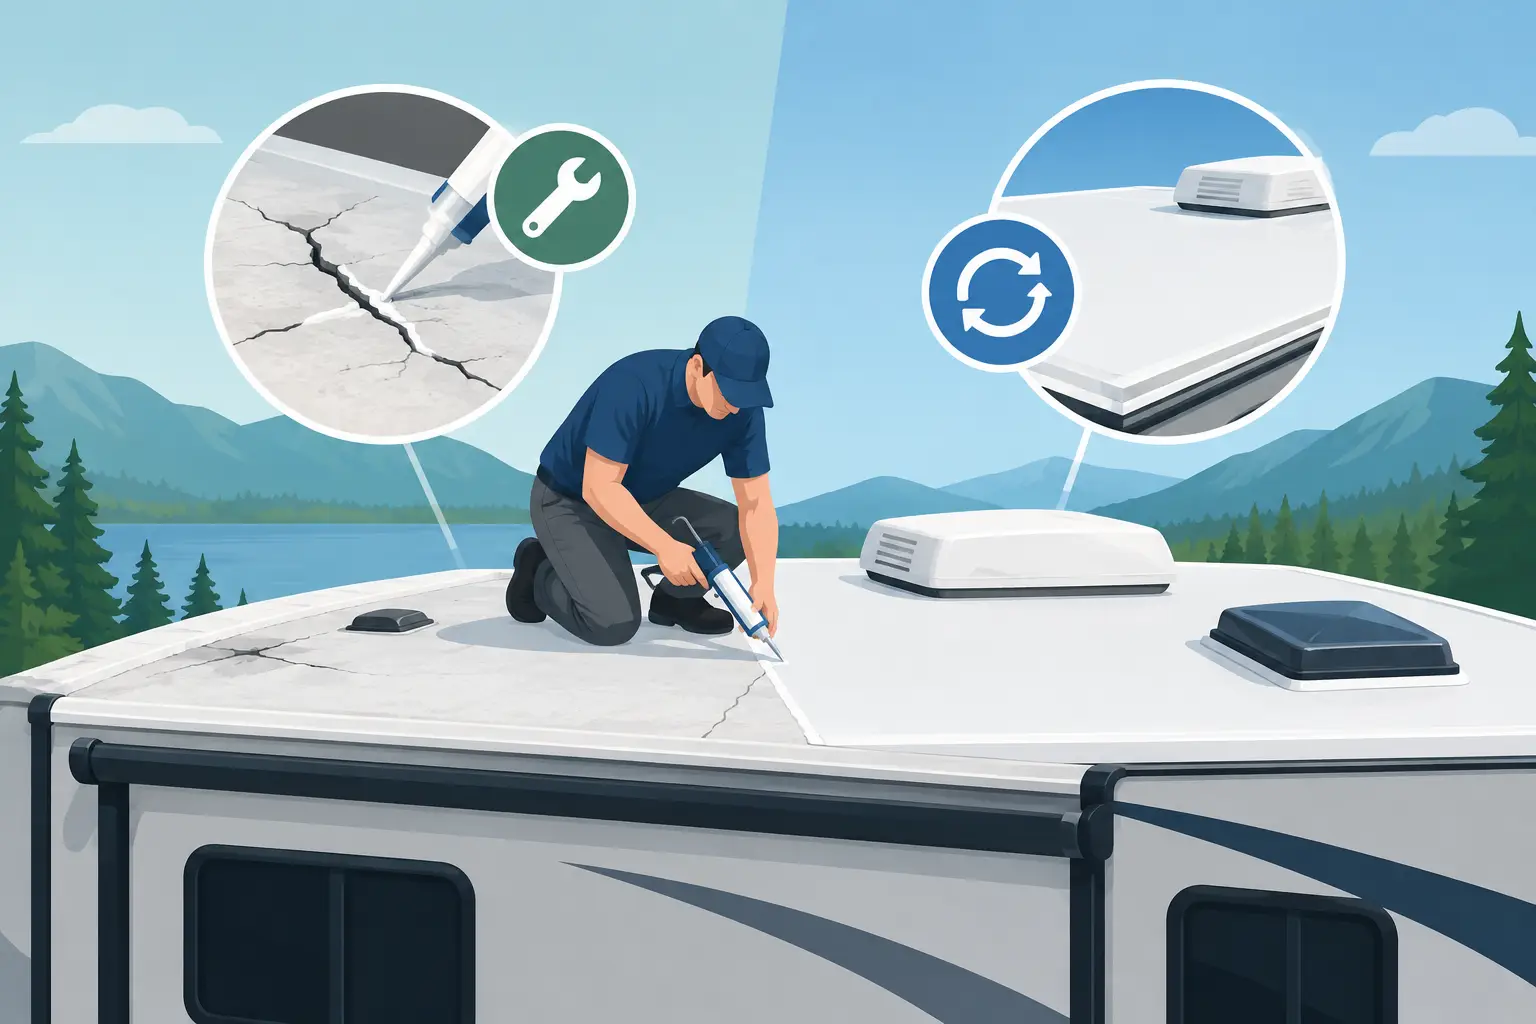
Repair RV Roof or Replace? Know the Signs
A brown spot on the ceiling after a Tennessee rainstorm is not something to watch for a few more trips. When deciding whether to repair RV roof or replace it, the visible leak is only part of the story. The real question is how far water has traveled beneath the roofing material – and whether the roof can reliably protect your camper, travel trailer, or fifth wheel from the next storm.
A timely repair can save a roof and protect your travel plans. Waiting too long can turn a loose vent seal or small puncture into wet insulation, soft decking, damaged walls, and costly interior repairs. Here is how to make a practical decision before minor roof trouble becomes a major RV problem.
When an RV Roof Repair Makes Sense
Repair is often the right choice when the damage is isolated and the rest of the roof is sound. A single cracked seal around a vent, a small tear from a low branch, or aging caulk around an air conditioner does not automatically mean you need a new roof.
A repair is generally a good option when the roof membrane is still flexible, securely bonded, and free of widespread cracking. The roof deck underneath should feel firm when inspected, with no soft spots, sagging, bubbling, or signs of trapped moisture. If the leak was caught early and water has not reached the structure, resealing or patching the affected area may restore dependable protection.
Common repairable issues include failed lap sealant, loose or cracked vent covers, separated seams, small punctures, and leaking roof penetrations around skylights, antennas, ladders, and plumbing vents. These are routine trouble spots because they sit above the roof surface and rely on sealant to keep water out.
The key is proper preparation. Adding fresh sealant over dirty, loose, or failing material is usually a short-lived fix. Old sealant may need to be removed, the area cleaned and dried, and the right compatible repair material applied. Different roofs – EPDM rubber, TPO, fiberglass, aluminum, and coated roofs – need different repair methods.
Signs It May Be Time to Replace the RV Roof
Replacement becomes the safer investment when damage is widespread or water has compromised the roof structure. A new roof is a bigger decision, but it can prevent repeated leak repairs and protect the value of the RV.
Pay close attention if you see several leaks in different places, long cracks in the membrane, extensive peeling or lifting, brittle material, or recurring seal failures. A membrane that has worn thin across large sections cannot always be trusted, even if a few patches temporarily stop the water.
Soft spots are especially concerning. If the roof feels spongy underfoot, the plywood decking may have absorbed moisture and begun to deteriorate. Stains on the ceiling, swollen interior panels, musty odors, or wall discoloration can also mean water has traveled farther than expected. At that point, replacing only the outer membrane may not address the actual damage.
Roof replacement may also make sense when the RV has an older roof with multiple past repairs. Patches have their place, but a roof covered with failing repairs can become difficult to maintain. If you are preparing for long trips, seasonal living, or selling the RV, a sound roof can be worth more than another temporary repair.
Repair RV Roof or Replace: Questions That Decide It
The decision is not based on age alone. Some older RV roofs remain in good shape because they were cleaned, inspected, and resealed regularly. A newer roof can fail early after a storm, a branch strike, or neglected sealant. A hands-on inspection should answer a few practical questions.
First, where is the water entering? Roof leaks do not always show up directly below the opening. Water can run along the roof deck, wiring, framing, or insulation before appearing inside the RV. A stain near the front wall may have started around a roof vent several feet away.
Next, how large is the damaged area? A small, clean puncture in otherwise healthy membrane is very different from cracking across multiple roof sections. The size of the repair matters, but so does the condition of the surrounding material.
Then consider what is underneath. Dry, solid decking supports a repair decision. Damp insulation, soft wood, moldy material, or delamination points toward a larger restoration or replacement project. This is why an inspection should not stop at the visible roof surface.
Finally, think about how you use your RV. A weekend camper stored under cover may have different needs than a fifth wheel used for months at a time. If your RV is regularly exposed to East Tennessee rain, summer heat, falling leaves, and tree limbs at a campground or storage site, reliable water protection deserves priority.
Why Waiting Can Make a Small Leak Expensive
Roof leaks rarely improve on their own. Water can enter through a pinhole, then spread quietly through insulation and framing. By the time dripping begins inside, the underlying problem may have been present for weeks or months.
That moisture can affect more than the ceiling. It may damage cabinets, lighting, wiring, wall panels, and flooring. In severe cases, it can weaken the structure around slide-outs, front caps, or sidewalls. The longer water stays trapped, the more labor is required to open, dry, and rebuild the affected area.
If you find active leaking, cover the RV if possible and avoid walking on a suspected soft roof. Take photos of the interior and exterior signs of damage, then arrange an inspection promptly. A quick response gives you the best chance of keeping the repair limited.
A Mobile Inspection Takes the Hassle Out of Roof Trouble
Getting a large travel trailer or fifth wheel to a repair shop is not always easy, especially when you suspect water damage or the RV is already set up at a campground. A mobile RV technician can inspect the roof where it sits – at home, in storage, at a campsite, or roadside when circumstances allow.
Time In Season Mobile RV Repair serves RV owners throughout the greater Maryville and Knoxville area with on-site roof diagnostics and repair support. We come to you, explain what we find in plain language, and help you understand whether a targeted repair is likely to last or whether more extensive roof work should be considered.
A good inspection looks beyond obvious holes. It includes roof seams, edges, transition points, vents, skylights, air conditioner seals, ladder mounts, and any prior repair areas. Inside the RV, ceiling stains, wall changes, and moisture clues can help identify how long the leak has been active.
Protect a Repaired or New RV Roof
Whether you repair or replace the roof, regular care is what keeps the investment working. Inspect the roof at least twice a year and after heavy storms, long storage periods, or contact with branches. Spring and fall are practical times for many East Tennessee RV owners to check seals before seasonal travel and winter weather.
Keep the roof clear of leaves, acorns, and standing debris that can hold moisture around seams. Wash it with products appropriate for the roof material, and avoid harsh cleaners or petroleum-based products that may damage certain membranes. Check sealant closely around every roof opening, because those areas tend to need attention before the broad roof surface does.
It also helps to watch for early interior warnings. A new stain, a musty smell, peeling wallpaper, or a ceiling panel that feels different should be investigated quickly. Small changes are easier to address before they become structural repairs.
Your RV is supposed to be ready when you are – for a weekend in Townsend, a lake trip, or a longer road ahead. If you have noticed a leak, cracked sealant, or a soft spot underfoot, getting clear answers now can help keep the next rainstorm from deciding the repair for you.