
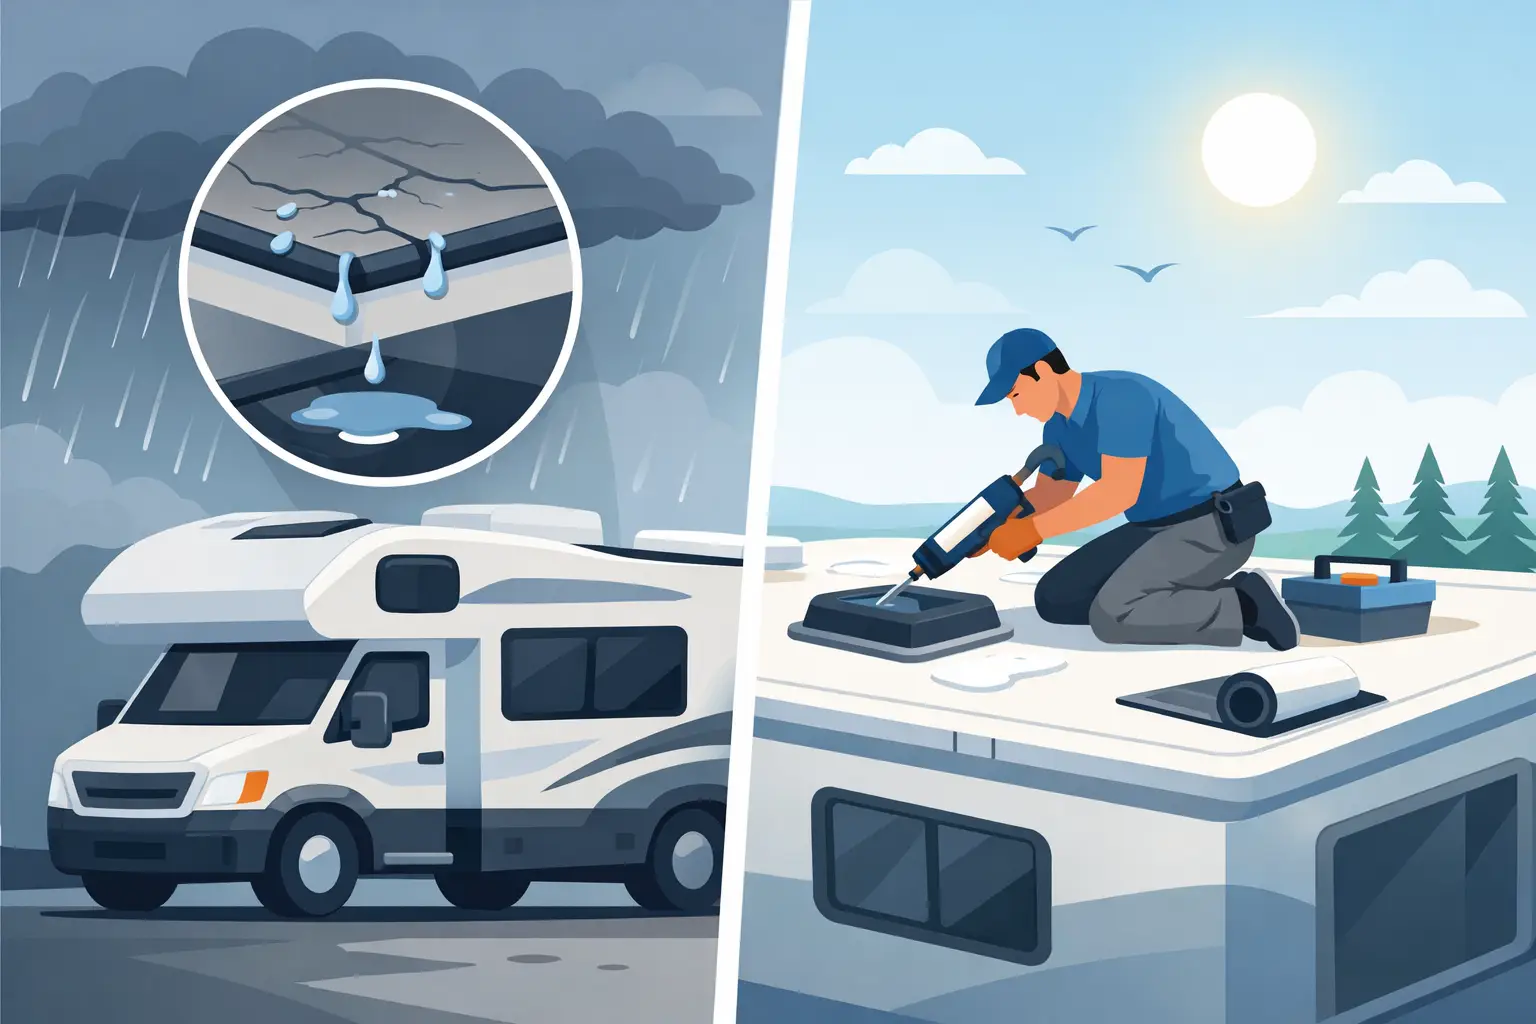
RV Roof Leak Repair That Stops Damage Early
A ceiling stain the size of a quarter can mean water has already traveled much farther than it looks. RV roof leak repair is rarely just about covering one visible crack. Water can move under the roof membrane, along framing, behind cabinets, and into insulation before it finally shows up inside your camper, travel trailer, or fifth wheel.
That is why a leak deserves attention as soon as you notice it. Quick action can mean resealing a seam or replacing a damaged vent gasket. Waiting through another East Tennessee rainstorm can turn a manageable repair into soft roof decking, stained walls, mold concerns, or costly interior work.
Start RV Roof Leak Repair by Finding the True Entry Point
The drip inside your RV is not always directly below the leak. Rainwater follows the path of least resistance, especially when an RV is parked slightly off level. Before applying any sealant, inspect the roof carefully and look beyond the obvious stain.
Check around roof penetrations first. Vents, skylights, air conditioners, plumbing stacks, antennas, solar mounts, ladders, and front or rear caps are common trouble spots because each one interrupts the roof surface. Look for cracked, lifting, brittle, or missing sealant. Pay close attention to old lap sealant that has pulled away at the edges or developed small splits.
Next, inspect the roof membrane itself. Branch strikes, loose debris, hail, and age can leave punctures or worn areas in rubber roofs. On fiberglass or aluminum roofs, look for damaged seams, loose fasteners, and separation where roof sections meet. Do not assume a roof is sound just because it looks clean from the ground.
Inside the RV, watch for yellow or brown ceiling marks, bubbling wall vinyl, a musty smell, damp carpet near a slide-out, or soft spots around upper cabinets. Press lightly around the area. Softness, sponginess, or a surface that gives under pressure may point to water damage beneath the finished material.
Know What Kind of RV Roof You Have
The right repair material depends on the roof, so identifying it matters before you open a tube of sealant. Many travel trailers and fifth wheels have EPDM or TPO rubber membranes. They can look similar, but manufacturers may recommend different cleaners, adhesives, and patch products. Using a petroleum-based product on the wrong membrane can cause more damage than the original leak.
Fiberglass roofs are durable but may crack at seams, around mounted equipment, or after an impact. Aluminum roofs often rely on sealed seams and fasteners, which need regular inspection. A roof that is more than a few years old may also have sealant nearing the end of its useful life even if no water has appeared inside yet.
If you are uncertain about your roof material, check the owner paperwork or have a technician identify it. Guessing is not worth risking a membrane replacement. The same caution applies to roof coatings. A coating can be useful when it is compatible and properly applied, but it will not fix rotten decking, a failed vent flange, or a seam that needs to be repaired first.
When a Small Leak Can Be a Simple Repair
A minor leak may be a reasonable maintenance job for an owner who is comfortable working safely on the roof. The roof must be dry, stable, and clean, and you need a product made for your roof type. Resealing a small crack in otherwise sound lap sealant or replacing a worn vent cover can prevent a larger issue.
For a simple repair, remove only loose or failed sealant as directed by the product instructions. Clean the area with a roof-safe cleaner, let it dry completely, then apply the correct self-leveling sealant on flat roof surfaces. Use non-sag sealant where the repair is vertical or along a sidewall. Give the material enough time to cure before exposing it to rain.
The trade-off is that sealant is not a cure-all. Smearing new material over wet, dirty, or separated sealant often traps moisture and hides the problem for a while. It can also make a proper repair harder later. If you find soft decking, widespread cracking, a torn membrane, or repeated leaking around the same fixture, it is time to stop patching and diagnose the cause.
Be Careful Around Roof Equipment
Air conditioner gaskets, skylights, and vent assemblies are frequent sources of leaks, but they are not always repaired by adding more sealant. An RV air conditioner, for example, seals with a compression gasket. Over-tightening its mounting bolts can crush that gasket and create another leak path. A skylight may need a new flange or dome rather than another thick layer of caulk.
These repairs also involve the risk of damaging the roof membrane or creating an unsafe condition around electrical equipment. When access is difficult or the repair involves removing a major component, professional service is usually the safer and less expensive choice in the long run.
What to Do Right Away After You Find Water Inside
First, protect the interior. Move bedding, electronics, and stored items away from the wet area. Place towels or a container below an active drip, and use a fan or dehumidifier if it is safe to do so. Drying the area quickly helps limit staining and moisture trapped in fabrics or cabinetry.
If rain is still coming down, a temporary roof cover may help only if it can be secured without causing more damage. Do not climb onto a wet RV roof. Wet membranes are slippery, and a fall is never worth saving a few minutes. Avoid driving with a loose tarp as well, since wind can tear it free and damage the roof further.
Take photos of the interior stain, the roof area, and any visible damage before cleaning it up. Photos help track whether the issue is growing and give a repair technician useful information. Then schedule an inspection as soon as conditions allow. The longer moisture remains inside the roof assembly, the greater the chance it will affect wood framing and insulation.
Preventing the Next RV Roof Leak
Roof maintenance works best as a routine, not an emergency project. Inspect your RV roof at least twice a year, ideally before spring travel and before colder, wetter weather arrives. Add another inspection after severe wind, hail, a low branch strike, or a long period in storage.
Keep the roof clear of leaves, pine needles, and standing debris. Those materials hold moisture against seams and can block drainage. Clean the roof with products approved for its surface, because harsh cleaners and stiff brushes can shorten the life of a rubber membrane.
During every inspection, examine sealant at all roof penetrations and along front and rear seams. Check vent covers for cracks and make sure the air conditioner gasket, skylight, and antenna mounts appear secure. Also inspect slide-out seals and upper sidewall seams. Water can enter there and mimic a roof leak inside the RV.
For many owners, the most practical plan is to pair regular inspections with seasonal service. A technician can spot early seam separation, failed sealant, and soft spots before they interrupt a family trip or force you to move a large RV to a shop.
Mobile Help for RV Roof Leaks Near Knoxville
A roof leak can make an RV difficult to move, especially when you are at a campground, parked at home, or have it stored for the season. Time In Season Mobile RV Repair comes to RV owners in the greater Knoxville area, including Maryville, Alcoa, Townsend, Tellico Village, Lenoir City, and nearby communities. An on-site inspection can identify the source of the leak, assess whether water has reached the roof structure, and help you understand what repair is actually needed.
You should call for help promptly if the ceiling is soft, the leak returns after sealing, water is near electrical fixtures, or the roof membrane is torn or separating. These are signs that a surface patch may not be enough. Reliable repair starts with finding the source, using compatible materials, and making sure the area is dry before it is sealed.
Your RV is meant to carry good weekends, family trips, and quiet campground mornings – not a growing water stain. Check the roof before the next storm, and address even a small leak while it is still a small job.